
Whether it be planks to build a shed or for trenches in World War 1, the technique for making them is the same. In this tutorial, you’ll be shown how to create them and how to adapt these planks to your needs.
To create the planks, you’ll need foam such as EPS (Expanded Polystyrene), paint, a Stanley and scalpel knife and a wire brush. If you can’t get a wire brush, a toothpick or pencil will do. To make it, you’ll need to cut the foam to the right length and texture it with the brush. Then paint it the colours you want it to be.
For a normal D&D game, the characters pieces are usually around 30mm which equates to a 6ft character. Taking this into account, if the planks are 2 meters in actuality, the size of the downsized ones would be 33mm or 3.3cm.
Step 1
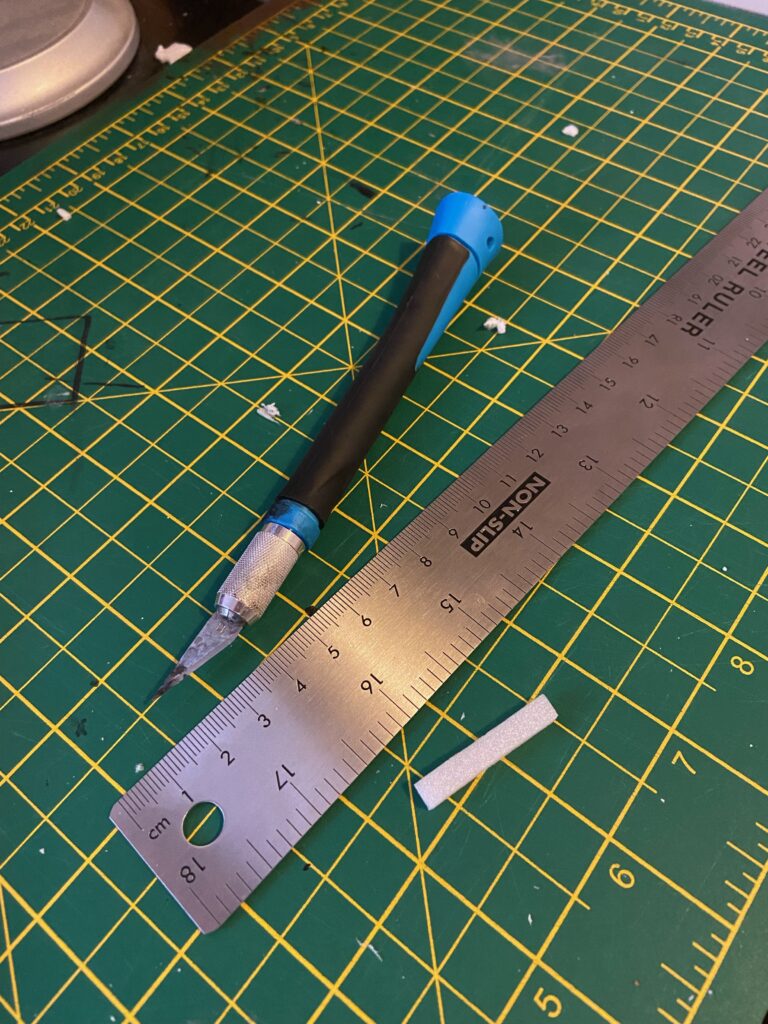
To start off, you will want to gather all the tools you will need in order to make the planks:
- EPS foam or something similar
- Acrylic paint (Black, White and Brown)
- Stanley knife
- Scalpel knife
- Wire brush (toothpick or a sharp pencil if you don’t have one)
- Paintbrushes
- Cutting mat
- Metal ruler

Step 2
Take a small amount of the foam and cut a 33mm by 3mm rectangle out of it using the Stanley knife. Use the cutting mat so you don’t accidently end up cutting into your table. Depending on how thick the foam you have is as well, you might want to cut down the depth of it so its not too thick. I would use the scalpel knife for this as it gives more control and is less likely to break the thinner bit of foam. If you are making more than one plank, line them all up next to each other to make sure they are all the same width, height and depth.
Step 3
Next you will want to take the wire brush and scrape that along the foam to give the impression of a wood grain. If you are using a toothpick or a sharp pencil, gently score lines into the foam. While this will take longer, it does give you more control over how the plank ends up looking and you will be able to add as many or little lines as you want. Unless you are using this to make something like a fence where all of the sides will be shown, you will only have to do this on one side of the foam.

Step 4
To start with, you are going to want to paint the whole plank black as that will give the undertones for shadows, and overall will just be easier to do than have to add in the shadows later. While you are waiting for that to dry, get the shade of brown you want by mixing the brown with either the black or white paint. Just remember that when adding black paint, if you add too much it will all go completely black and none of the brown will shine through. When it comes to adding white paint, if you want a very light brown, I would add the brown paint to the white instead of the other way around because otherwise you end up wasting a lot of paint that you didn’t need to.

When the black paint is dry, drybrush the brown paint you mixed onto the foam. This will make it so the shadows can still be seen and the new paint will only go onto the areas you want highlighted. It will also stop paint from going into the grooves you’ve scored into the foam, which will help with the depth of the plank.

Step 5 (Optional)
Depending on how your plank turned out, an optional step, you could do afterwards could be to do a wash on it. A wash is basically just very dilute paint that will add extra colour onto the plank without sacrificing how it looks already. The wash should be in a near water consistency in order for it to work properly.
Grouped Planks
For a lot of people, I can understand if having to make 100 of these singular planks for a wall or floor would get a bit tiresome, so below I have outlined a simple method to help with making groups of them at a time.
To begin, get the size of foam you want to make into the planks and use a pencil to draw lines every 3mm along the foam. Then you want to use something small but blunt (like a pen nib) and press down into the lines that were drawn. This will give the impression that the planks are separate and not just one block. Then do the same as Step 3 and 4 with the wire brush and the paints.
Scaling
I mentioned above about how each of the planks would have to be 33mm based on how big D&D characters are. The maths behind that is quite simple but the scale can be used for anything that needs to be downsized.
A 30mm character piece symbolises a 6ft person as I said earlier. If we convert 6ft into millimetres, that is 1828.8mm. 1828.8 is then divided by 30, which equals 60.96. Now 60.96 is the only thing that is needed to scale anything down to the correct height for a D&D character and to make everything look in proportion.
Take the planks for example, 2 meters is converted into millimetres (2000mm) and is then divided by 60.96, which equals 32.8, which is rounded up to 33mm. The same is then done for the width of the wooden plank – 15cm (150mm) divided by 60.96 = 2.5mm, which is rounded up to 3mm.